Mosaic Fish Kit Instructions Page
Use the pictures as a step by step guide to making the fish.Place the tiles close together as you do not need to use grout for this mosaic.
Once you have placed the tiles for each stage you can glue them down. This helps to prevent mistakes. All the tiles have been precut for you, but you can cut them in half or into triangles if you need to. You can use scissors to cut these tiles, or tile nippers if you have them. Don’t try to cut the blue glass tiles as they need the wheeled nippers.
If you are cutting the tiles wear goggles or glasses to protect your eyes.
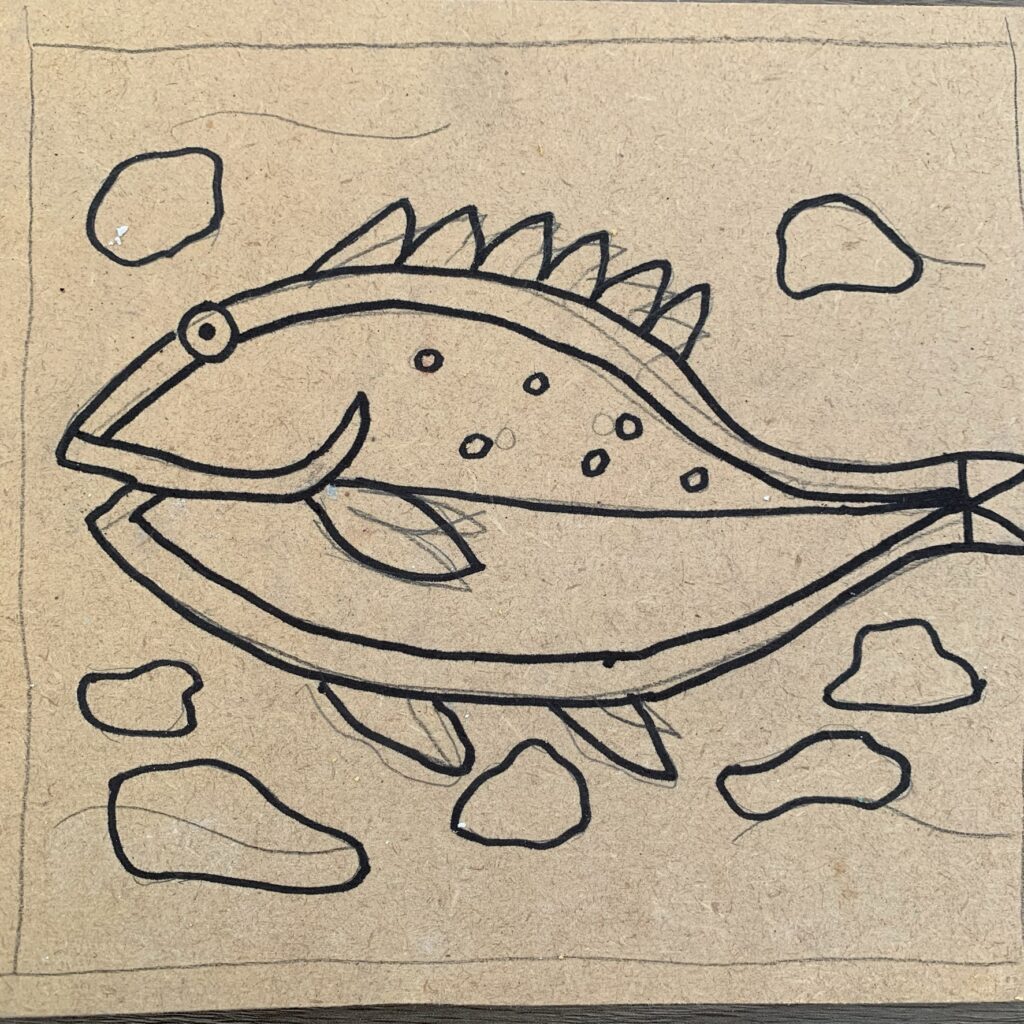
1. Outline predrawn on board
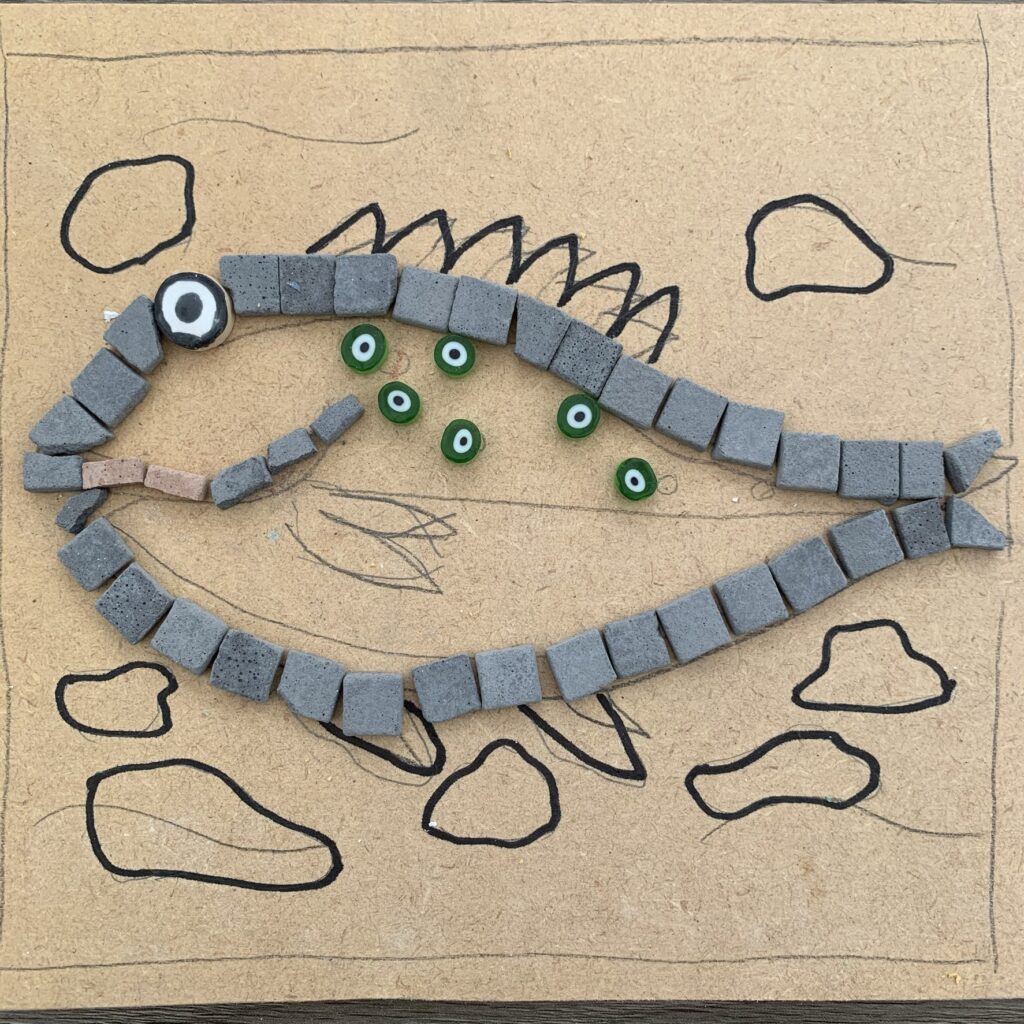
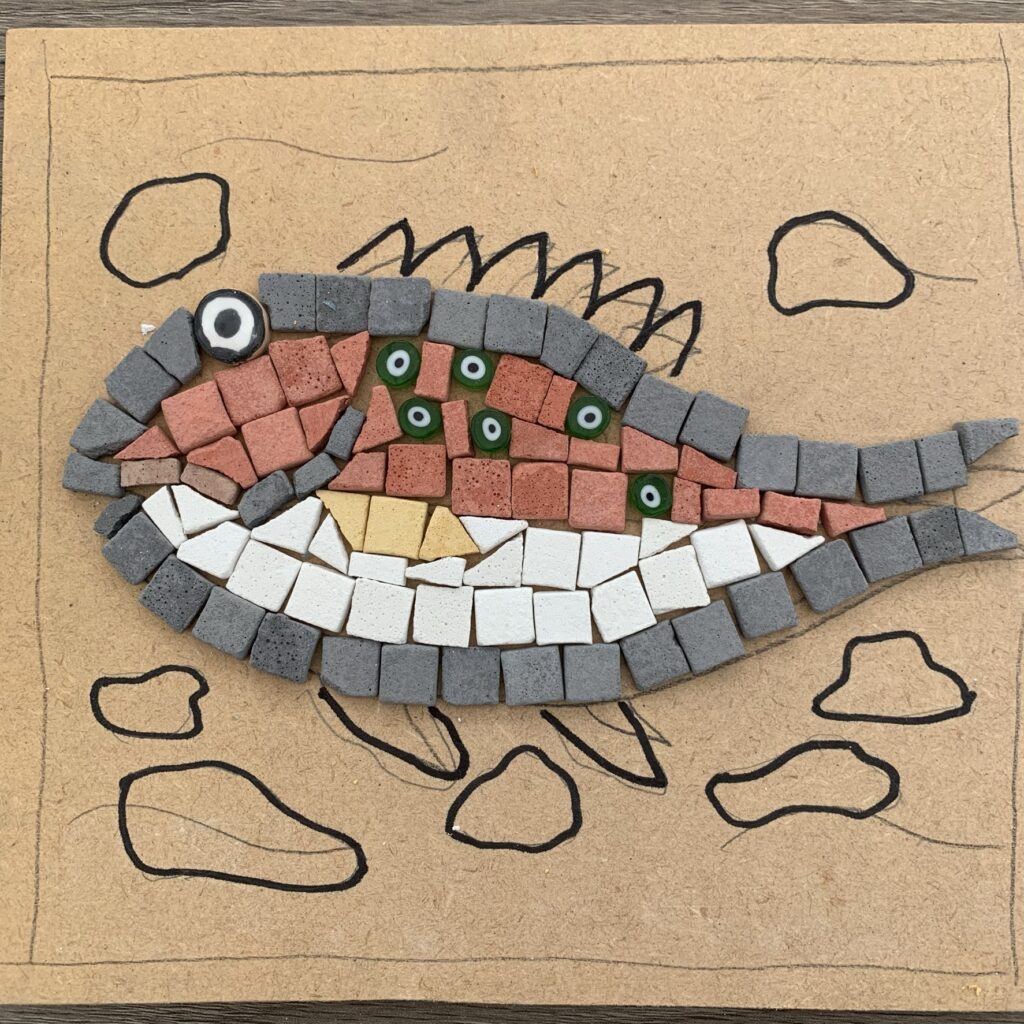
2. Add the grey tiles to create the outline. Add the eye and the millefiori
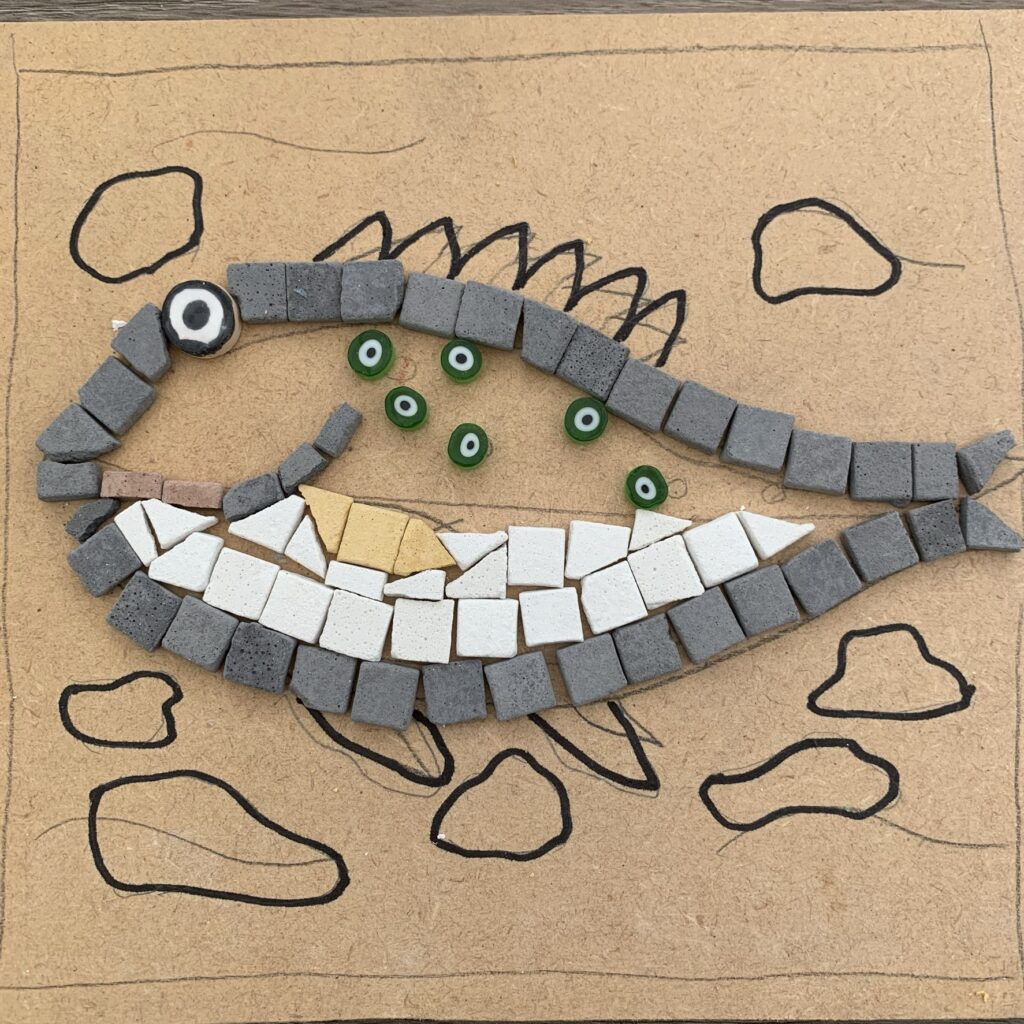
3. Add the white tiles and the yellow tiles to create the fishes fin. There are also 2 brown tiles to make the mouth
4. Add the red tiles to finish inside the fish
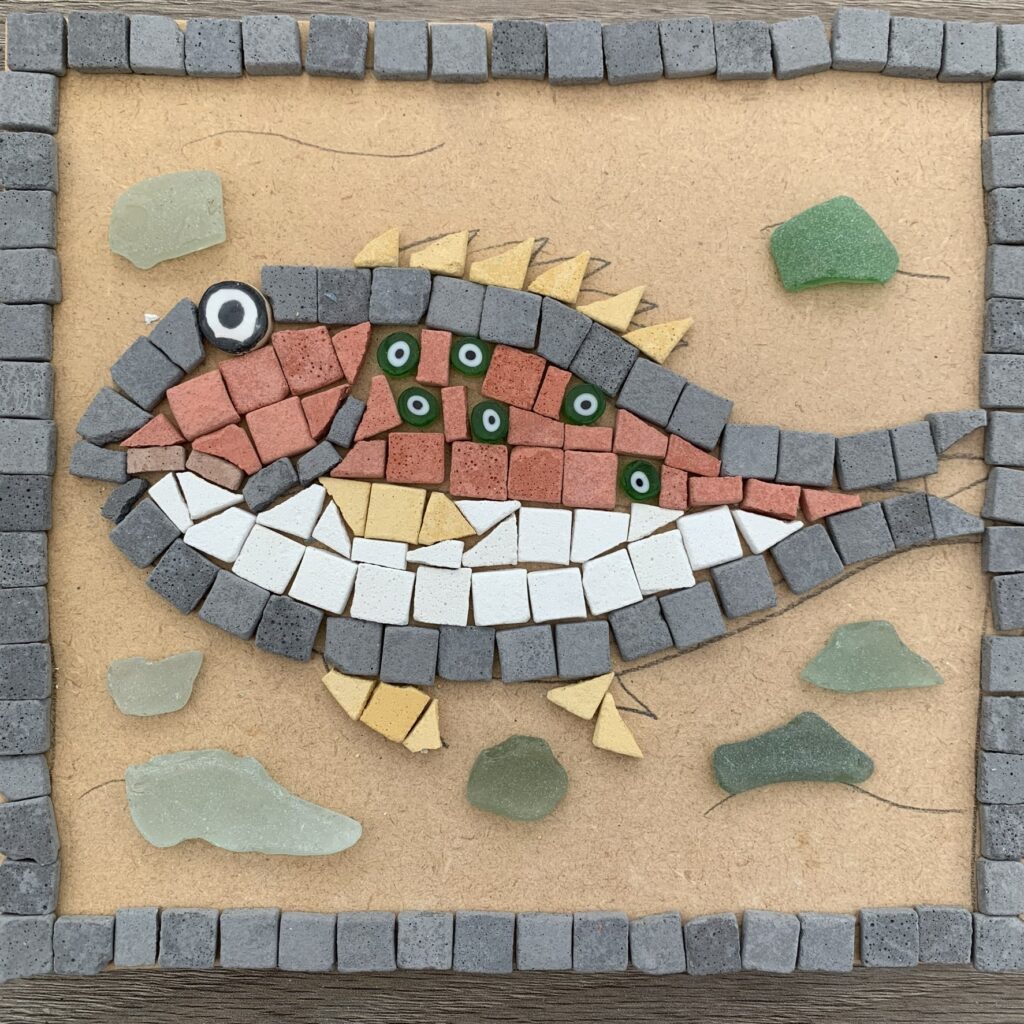
5. Place the sea glass around the fish. Add the yellow fins. Place the remaining grey tiles on the border.
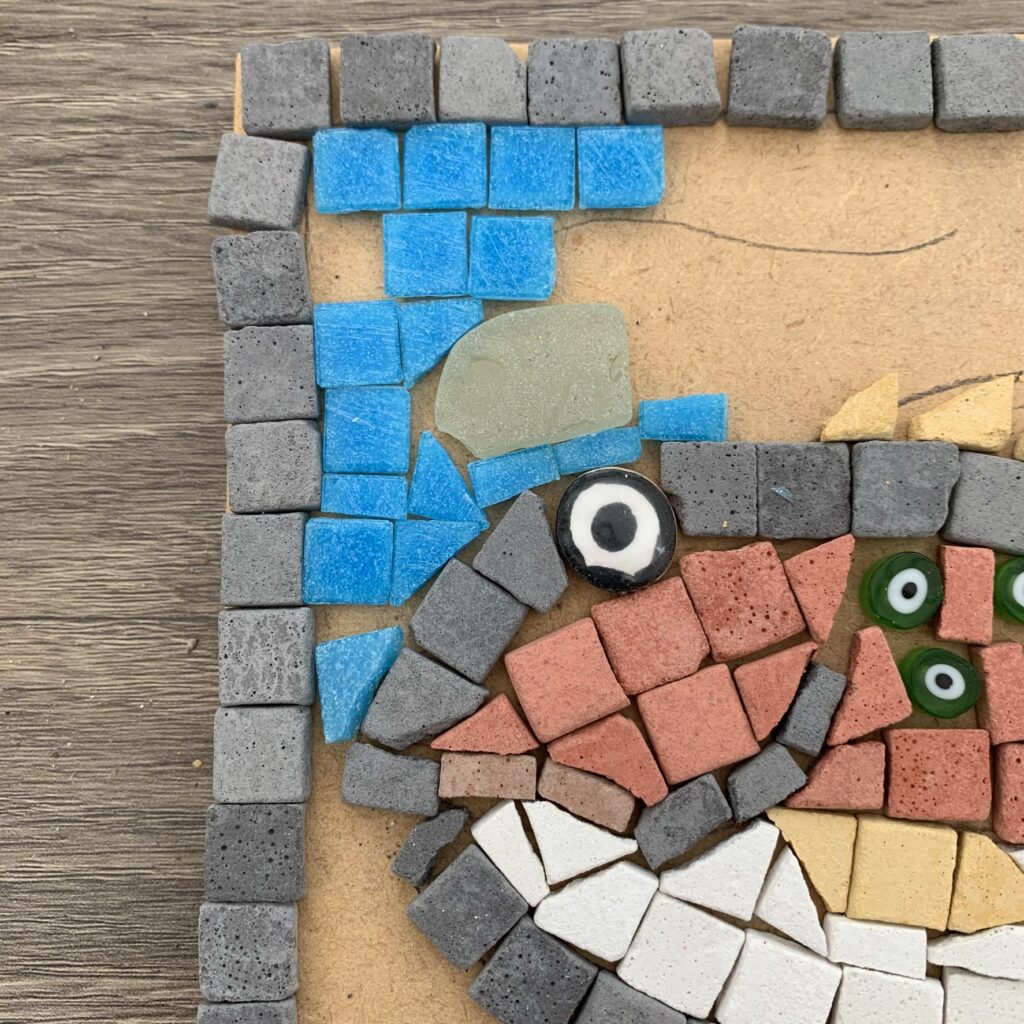
6. Begin to fill in the background with the blue glass tiles.
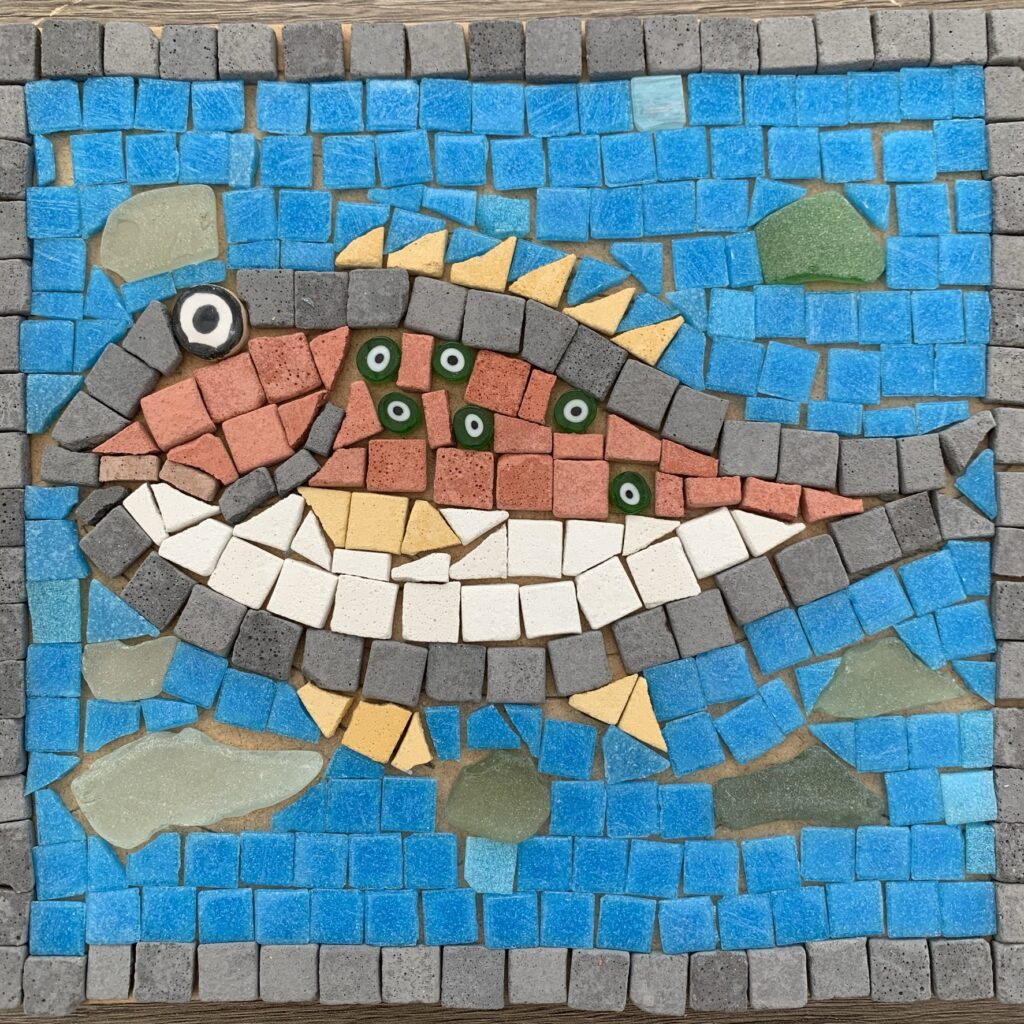
7. Completed mosaic